Low Budget Repairs Laying Tiles the Chaotic Way
Stick first, symmetry later — or never.
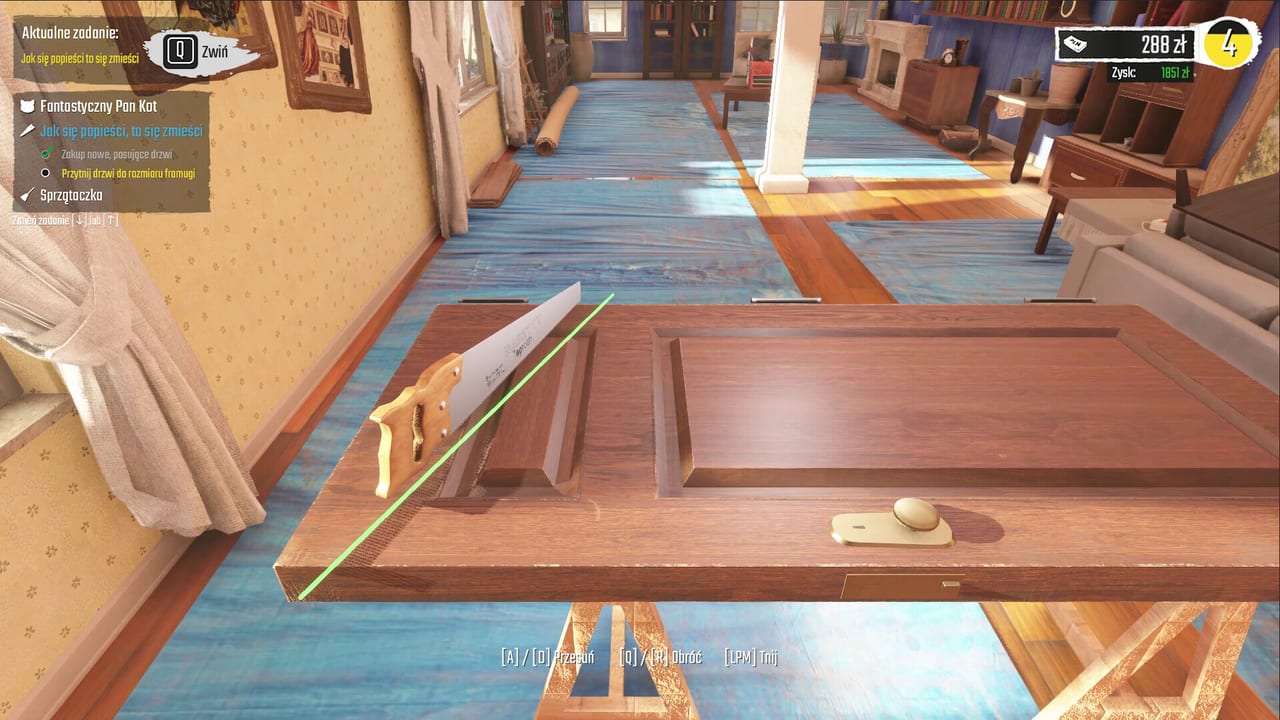
Official Low Budget Repairs copy celebrates laying tiles without a level because unevenness adds “character.” This guide explains how to finish tile tasks quickly, what “good enough” looks like in the checklist, and how to avoid the few mistakes that actually block completion.
Tile job goals
You need tiles on the target surface with enough adhesion to count. Perfect grout lines, laser-level rows, and boutique patterns are optional cosplay. Speed and material cost drive profit — revisit How to Make Money.
Shopping list
From the Hardware Store and Materials pages:
- Cheapest tile pack that matches the interaction
- Adhesive or cement analogue the build requires
- A disposable tool that can press tiles (Cheap Tools)
Do not buy decorative premium packs for Demo practice.
Surface prep
Clear obstructing furniture (Furniture Out the Window if needed). Wipe loose dirt. If the room is a bathroom, stop active water first (Bathroom Flood). Tiles on a fountain are comedy, not completion.
Placement workflow
- Aim using controls reticles or input prompts.
- Place tiles in broad sections rather than obsessing over a single corner for five minutes.
- Press firmly enough to register adhesion.
- Ignore minor gaps unless the task refuses to check off.
- Spend leftover attention on uncovered patches, not micro-alignment.
When uneven tiles are fine
If the job completes and the surface reads covered, uneven edges are flavor. That is the fantasy marketed in the trailer and discussed in Preview & Review. Rank this shortcut high on the Shortcuts Tier List.
When to slow down
- Large holes that show bare wall to the checklist
- Tiles that fall because adhesive was skipped
- Wet substrate that rejects placement
Slowing down for those cases saves redo cost.
Combining tiles with paint
Some apartments mix painted drywall and tiled wet zones. Sequence: water → tiles in wet areas → paint dry areas (Painting Walls). Crossing those streams creates smudged messes and wasted materials.
Demo practice plan
Use the Demo walkthrough apartment to:
- Tile one wall without restarting for aesthetics.
- Count materials used versus leftover.
- Note whether any tile fell — adjust adhesive habit next run.
Related systems
Tile speed improves when your tool tier is understood (Tools Tier List) and when you already know the overall How to Play loop. Keep official links nearby for patch notes if placement feels sticky after an update.
Laying tiles in Low Budget Repairs is a consent form signed with chaos. Stick them up, cover the brief, and cash the job before anyone brings a spirit level to the argument.
Frequently Asked Questions
Quick answers for Demo and launch-week questions.
Do I need a level tool?
The fantasy says no. Use one only if a specific job prompt requires it or tiles will not stay up.
Why will my tiles not stick?
Check adhesive, wet surfaces, and whether you are aiming at a valid surface. Revisit controls and bathroom triage.
Should tiling come before painting?
In mixed rooms, finish wet-zone tiles before painting adjacent dry walls to reduce smudges.